Alcatel OmniPCX Office - Serial connection
These instructions help you configure your Alcatel OmniPCX Office phone system to work with TIM Plus. Contact your system maintainer if you are not familiar with the configuration of your PBX.
Support files
Ensure the following support files exist in the /config/ folder of the TIM Plus application:
Alcatel OmniPCX Office.TDS
Alcatel OmniPCX Office.TDT
Contents
Configuring your SMDR output
Before enabling the SMDR output, you will need to speak with your phone maintainer to buy the required licenses for your Alcatel phone system.
Alcatel-Lucent OmniPCX Office Communication Server supports two types of call metering:
- V24 metering supports V24 printing for all call metering tickets
To set printing options for call metering tickets, follow the steps below:
Open the Counting function window in the OMC console and select the
Accounting Printouttab.Select the metering type from the drop-down list: Ext. Accounting Activation V24.
Click
OKto save the settings.
The table below presents a summary of the data output from an Alcatel:

Installing NetPBX
If your Alcatel OmniPCX Office has been configured to send SMDR data via a serial connection, you first need to install the NetPBX software to collect the data from the serial port and send it to TIM Plus. For setup instructions, click on the link below:
Install and configure NetPBX
Configure TIM Plus
Follow the steps below to configure TIM Plus to connect to your Alcatel OmniPCX Office:
- Click on the
Directorytab. - If you don't have a site set up, press
Addand selectPBXfrom the drop-down menu. In the dialogue window, name your site and then selectAdd. - Locate the site object you want to configure in the Directory, click on it and select
Properties.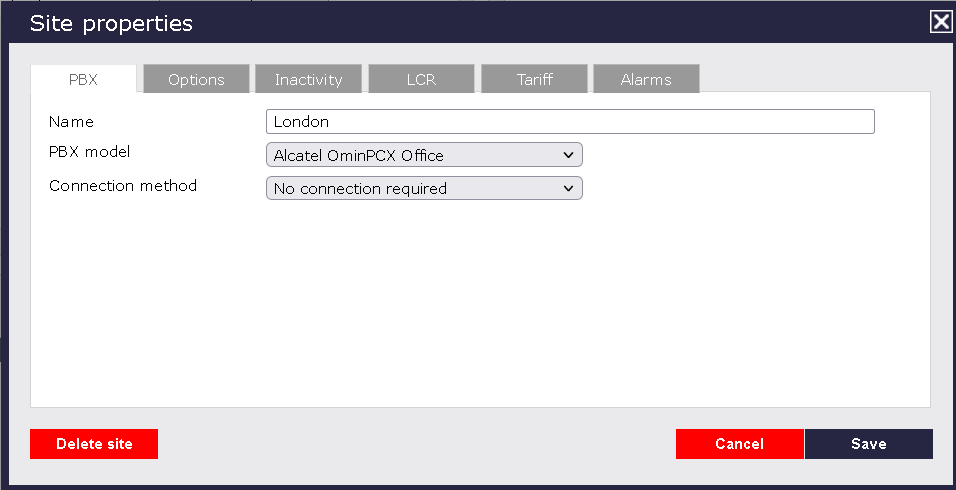
- In the Site Properties window, select Alcatel OmniPCX Office from the PBX model drop-down list.
- In the Connection method field, select No connection required from the drop-down list.
- Click on the
Savebutton to apply the settings.